California security deposits should not become a mystery when you move out. A deposit is money held for specific purposes, not a general renovation fund. Understanding the rules helps you collect useful records, read a deduction statement, and ask focused questions when something does not add up.
Start with three items: your rental agreement, proof of what you paid, and evidence of the home’s original condition. Keep these together throughout the tenancy. This guide explains the main issues for residential renters; local rules, special housing arrangements, and the date a deposit was collected can change the analysis.
Understand the Deposit Before Moving Out
Check the Amount and the Purpose
For most California residential rentals, the current deposit limit is one month’s rent. A limited exception permits certain small landlords to collect up to two months’ rent. That exception has ownership and unit-count requirements and does not apply to a tenant who is a servicemember. Older deposits can involve different rules, so do not assume a new limit automatically requires a refund during an existing tenancy.
The California Attorney General’s tenant information provides an official starting point. Compare the actual payment with the rental agreement rather than relying on the label used in a listing. A fee described as a cleaning or pet deposit may still fall within security-deposit rules.
Separate Rent From the Deposit
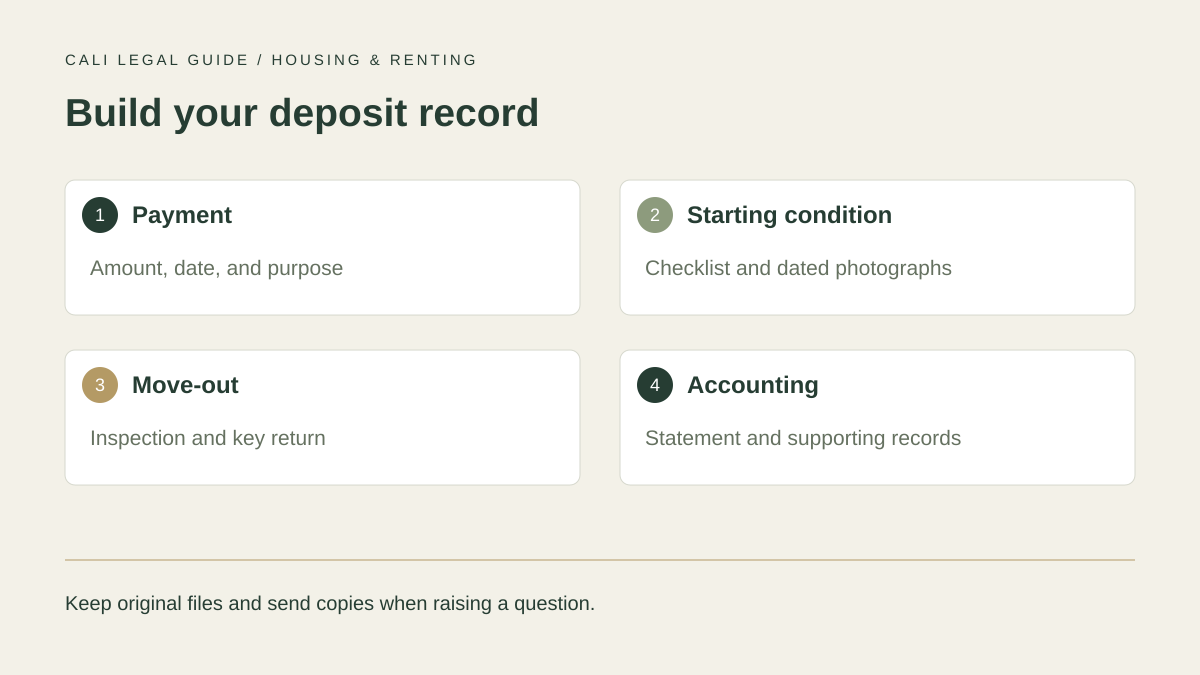
Make a simple payment list showing the date, amount, recipient, and stated purpose of every move-in payment. Separate first-month rent from money held as security. Save receipts or bank confirmations, but hide full account numbers when sending copies to someone else. If a payment description is unclear, ask the property manager to explain it in writing.
Do not automatically treat the deposit as your last month’s rent. A deposit and a rent payment serve different purposes. An assumption here can create a new dispute even when you expect a full refund after leaving.
Establish the Starting Condition
Match the move-in checklist with dated photographs. A picture of a scratched counter is more useful when the room, surface, and date are identifiable. If you reported a loose cabinet hinge soon after moving in, preserve the report and response. Our move-in inspection checklist explains a practical way to build this record.
For example, a tenant who documented an existing carpet stain can compare that photograph with a later charge. The photo does not decide the dispute by itself, but it helps separate an old condition from a new allegation.
Prepare for the Move-Out Inspection
California generally gives residential tenants a right to request an initial inspection before moving out, with exceptions in certain termination situations. The purpose is to identify issues that could lead to deductions while there is still time to address them. Ask about this process early, rather than waiting until the last afternoon.
Confirm the appointment and request a copy of any itemized list. Photograph the unit again after furniture is removed. Keep cleaning receipts and evidence that keys were returned. A discussion during an inspection is easier to follow up when you write a short, factual recap afterward.
Review the Refund and Any Deductions
Read the Accounting Item by Item
A landlord generally has 21 days after move-out to return the deposit or provide the remaining balance and an itemized deduction statement. The California Courts security-deposit guide explains this process, including documentation and good-faith estimates when qualifying work is unfinished. Do not confuse the estimate procedure with an unlimited extension.
Allowed uses include unpaid rent, qualifying cleaning, damage beyond ordinary wear, and certain restoration of the landlord’s personal property if the agreement permits it. Ordinary aging and preexisting damage are different from damage caused during the tenancy. A charge should explain the work, not simply say “turnover.”
Compare the Evidence, Not Just the Total
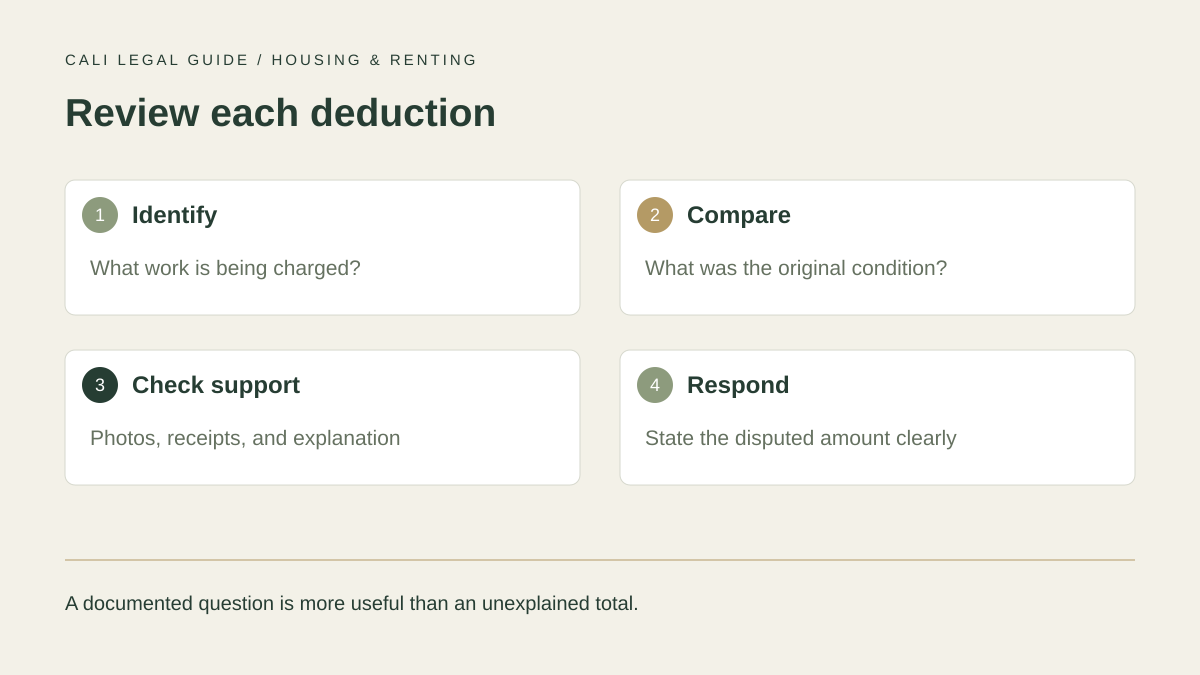
Create one row for each disputed charge. Record the landlord’s description, amount, supporting document, your response, and the evidence supporting that response. A receipt can show that work occurred, but you may still have questions about why it was necessary or what share belongs to your tenancy.
Current law also contains landlord photography requirements connected with deposit deductions and new tenancies. Ask for the relevant photos along with receipts and the accounting. Review the 2026 California Tenants guide for the applicable details, including changes to deposit-return methods. An old lease form may not reflect every current requirement.
Choose a Clear Next Step
If you disagree, send a concise written request. Identify the tenancy, move-out date, disputed charges, and amount you believe remains due. Attach copies of the strongest records. Explain your reasoning calmly and request a written response by a reasonable date. Keep the original documents and proof that your message was sent.
A useful request might distinguish between a charge you accept and another you dispute. That approach makes the disagreement easier to evaluate. Avoid inflating the amount or threatening penalties that you have not checked. Additional damages for bad-faith withholding are not automatic.
If direct discussion fails, a local legal aid office or small claims adviser can explain available procedures and limitations. Bring the complete accounting rather than selected screenshots. Legal deadlines still matter while you negotiate, so seek advice promptly if you are considering a claim.
For related preparation, read our California rental lease guide and explore the Housing & Renting archive. Good records cannot guarantee a result, but they make the facts easier to understand. This article provides general information, not advice about a particular dispute.